Today I would like to share with you my tutorial for a quadruple stitched taggy blanket! This is my "go-to" fun gift for a baby shower and on a recent Sunday I made four of these suckers.
Why quadruple stitched?
Well, these taggy blankets are made for babies to play with and munch on. There are lots of tutorials for them around blogland. However, as a Mom of a little one who has loves her own little taggy, I realize how important it is that those ribbon taggys stay absolutely secure onto the blanket. I've seen some tutorials where they are just stitched down in one pass - and that scares me a bit. Let's not underestimate our babies strength! It doesn't take much more work to make sure these ribbons are super-duper secure --- so check it out, the safe taggy that is quadruple stitched!

I love having an embroidery machine so I can personalize these.
OK, first things first. You need two squares of fabric in the size you want. I use 15' x 15' squares. I like to use a soft fleece for one side, then a fun cotton print for the other. If you would prefer to use two cotton prints, then I would add a layer of fleece or batting to the middle to give the taggy blanket some weight.

The first thing I do is embroider the fleece. You could hand embroider, or use other embellishment, just make sure whatever you do is secure and safe for a little one.

Next I cut ribbons to make the taggies. The ribbons are varying textures, colors, widths. I cut them around 7', but try to vary that a bit also.

Fold the ribbons in half, and pin to the right side up fleece fabric. the raw ends of the ribbon should point out and beyond the end of the fleece by about a half inch.

Keep arranging various ribbons all around the fleece. I usually end up with about 4 ribbons pinned per side. But if I have thinner ribbons, maybe up to 5.

Once all the ribbons are in place, it's time for stitch line number 1. I stitch down each ribbon with a quick run through the sewing machine, and remove all those pins. No need to backstitch to secure these stitches, as they will be secure and hidden in the seam later. I sew these at about a quarter inch from the side of the fleece.

Sew ALL the ribbons on.

Now that the ribbons are in place, it's time to place the printed cotton fabric, face down, onto the square. The ribbons should be sandwiched between the two pieces of fabric. The cotton fabric should be the same measurement of the fleece. (15'x15') Pin in place. The ends of the ribbon should be poking out the sides.

Now sew around the fabric sandwich, with about a half inch seam, leaving a space to turn the square. (I use different colored pins at the turn space so I know when to stop sewing.)

We're in the home stretch now! Two stitches down, two to go!

In order to turn the blanket and have nice corners, cut them off at an angle at each corner, being careful not to cut into the stitches.


Then turn the blanket right side out through the space you left at the side seam.


Now it needs a nice pressing. I pull a bit on the ribbons to stretch the sides and give me a nice flat straight seam to press.

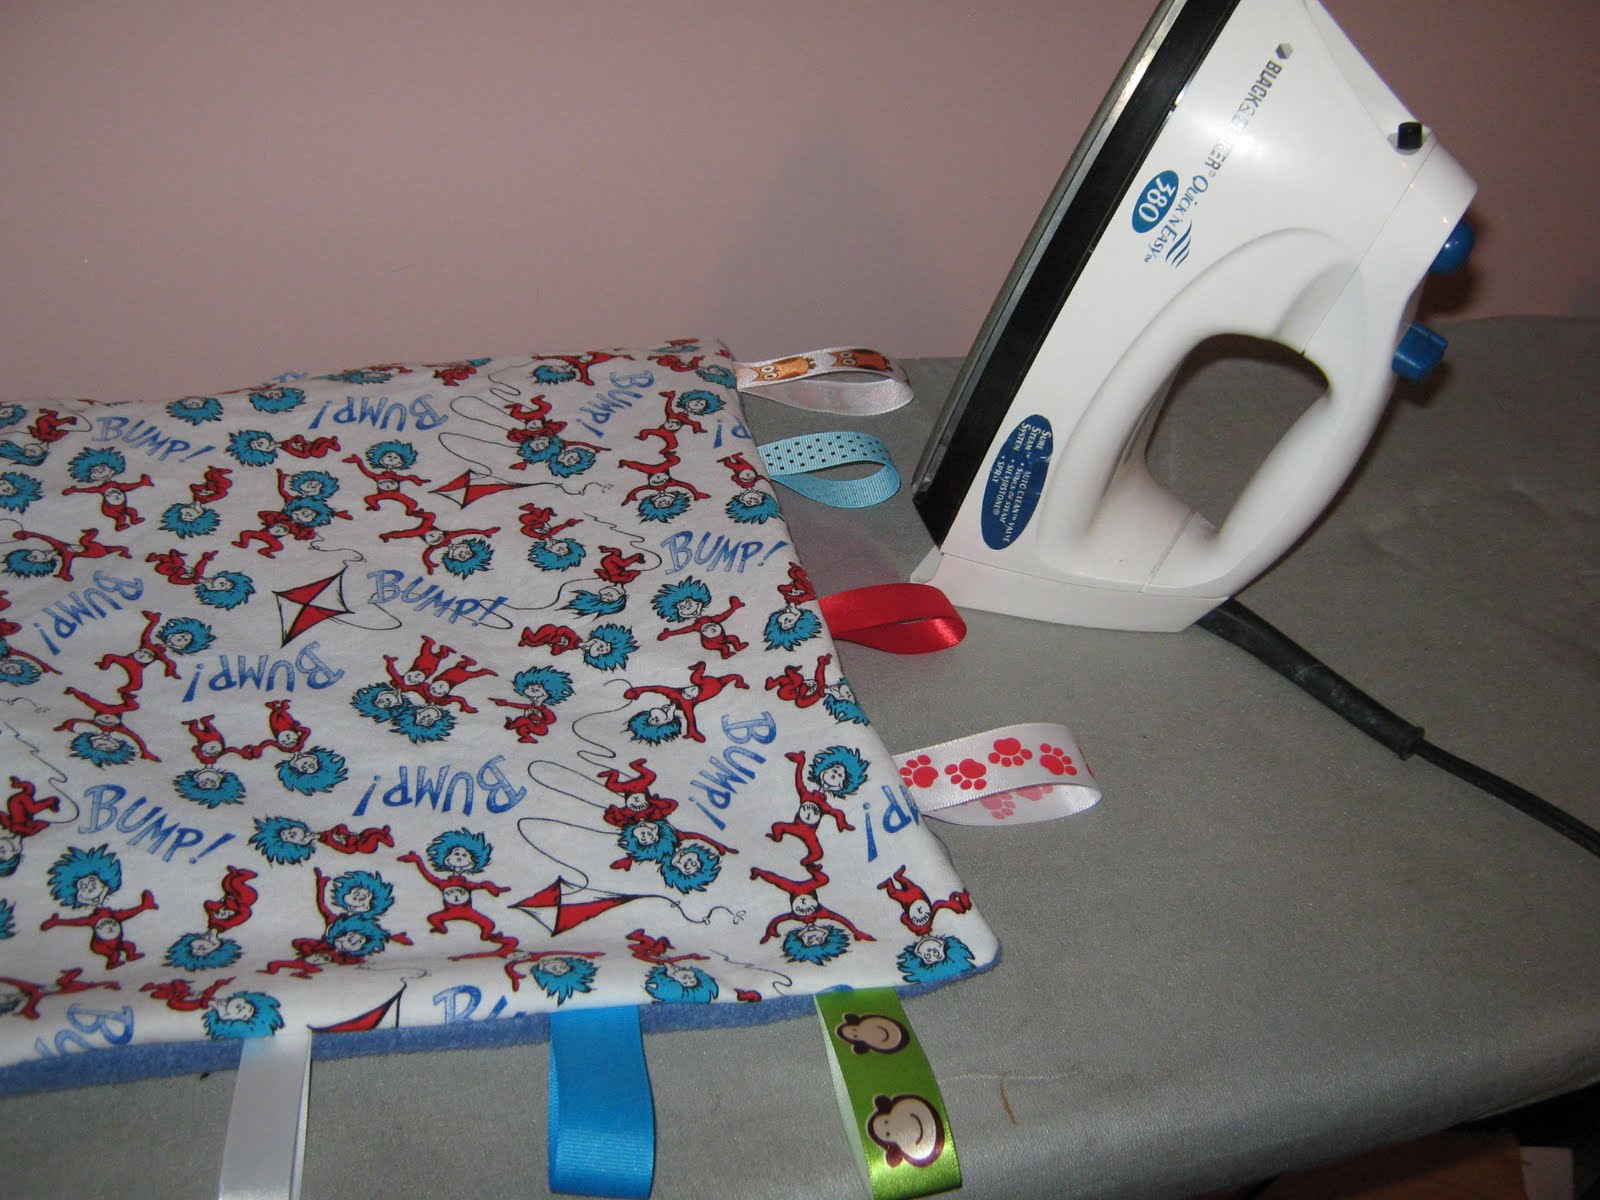
Once the blanket is turned and pressed, topstitch around the outside edge about a quarter inch from the side. This stitch should close the turning gap and is one more stitch that secures the ribbons. That's the triple stitch.

You could end there, with a triple stitched taggy, but I like to add one more row of topstitching, about a half inch from the edge, and you are still catching the tail of the ribbons to give them a fourth stitch down and make your taggy blanket extra safe for the lucky little recipient.

I made four BOY ones last weekend! I hope they all like chewing on them. I at least can rest easy knowing they won't be able to yank out those ribbons!


So there ya go! Happy stitching!
Take care,
Janimal