Ahhh - 'scuse the tongue out on my sweet model!

We're loving Mr Men books right now!

I just love the Union Jack. I came to America when I was 12 years old, from England. So the Union Jack has been in my life and my heart for a VERY long time. Let me show you how I put this together. And....my technique could just as easily be used for the Stars N Stripes or any other nation's flag you love.
Here is the TShirt I started with:

Anyone familiar with the Buccaneers last football season has to agree it was UGLY! I happen to be a Buccaneers fan. This shirt was a gift to my husband from my BFF. However, my husband is a Buffalo Bills fan. (Insert groan here) There is no way my dedicated Bills fan husband would deign to wear a Tampa Bay shirt, so to him, this shirt is TRULY ugly. It's way too big for me, so the ugly knit contest it is!
First, I cut off the bottom of the shirt at about 12 inches.


Then I got to work on the Union Jack. I took a piece of freezer paper, and used my ruler to draw straight lines. First is the basis of the flag, the St George cross.

Now, this flag is so familiar to me, that I just drew it up from memory. I've been coloring it since I was a little one myself so I didn't need a picture to follow. Plus it's all straight lines so pretty straightforward. Another way to do this would be to print a flag out and trace it.

I had all my lines drawn, so it was time for cleanup.

Ahh, there ya go! My pretty Union Jack on freezer paper!

Next it needed to be cut out to make it into a stencil. Keeping the pieces in the right places is important.


Now, the stencil is to cover the parts of the flag that are red and blue. So starting with the center stencil piece, I ironed on the center cross.

Then I carefully placed the corner pieces onto the fabric and ironed them on too. Good thing I kept them in order!


Once they were all ironed on, it was fabric paint time for the white parts.

Note I left the outside of the stencil rather sloppy. For me that was part of the "punk appeal" of the design. It would be pretty easy to make the stencil more precise if that's a look you prefer.
I used two coats of paint, letting it dry between coats.

While it was drying, I started work on the blue applique pieces. I wanted to use another "ugly knit" but didn't have a blue ugly knit that qualified, so I grabbed a piece of blue Kona cotton from my stash. I used Heat N Bond to apply to the fabric, following instructions on the package.

Once the Heat N Bond was secure to one side of the fabric, I ironed the remaining unpainted stencil pieces to the fabric to give me a cutting guide for my triangles. I needed 8 triangles.

Ok - the paint dried! Time to carefully peel off the stencil.

Leaving a cool white imprint! Honestly, I was tempted just to stop there. I found the simplicity of the red and white really appealling.

But I had my triangles ready. I played with them a bit to get the placement right.

Then cut off the excess from them to clean it up a bit, ready for applique.

Once placed, I peeled off the Heat N Bond backing paper.

And ironed on. Now, since there was fabric paint on the fabric, I put a piece of muslin over the section I was ironing, to protect the paint from scorching and messing up my iron. The heat from the iron through the muslin also helps to heat set the fabric paint.

Once all ironed on, I set my sewing machine zig-zag stitch wide, with a narrow space between each zig - it looks like a satin stitch this way. I then sewed around each piece of blue fabric that was adhered with the Heat N Bond.


Ok - All pieces stitched in place and almost finished! I was glad I went ahead with the blue. That's the flag I love!

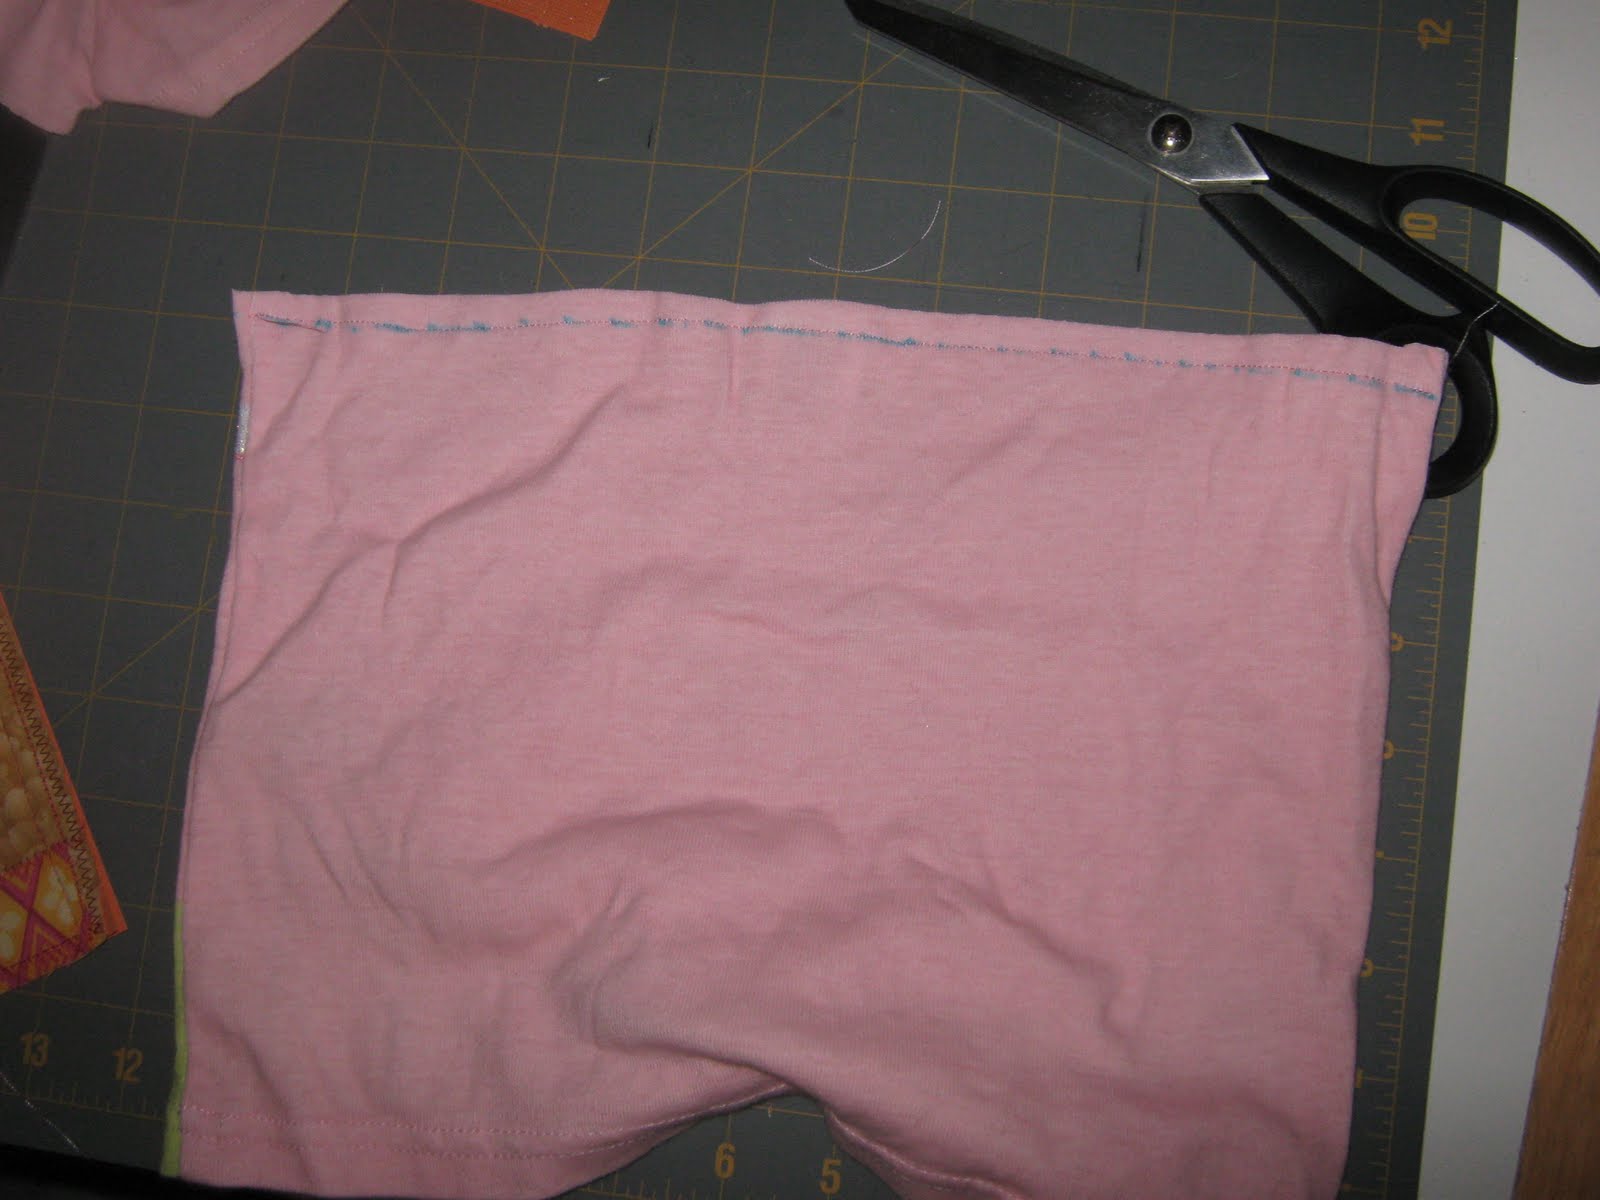
Last thing to do - the waistband. I turned the skirt inside out, and folded down the top edge about 3/4 inch. (My elastic was 1/2 inch.) I didn't double fold, because the knit won't fray, and to be honest, I didn't have much extra fabric at the top to allow for lots of folding!


Then I slowly stitched around the fold, creating a pocket around the top for the elastic. I left about a 2 inch opening to slip the elastic in.

To slip in the elastic, I attached a safety pin to the end of the elastic. I like using diaper pins because their larger size makes it easier, in my opinion.

Once the elastic was through, I sewed the ends together and sewed the 2 inch opening shut. After all those photographs of every step in the process, for some reason my brain switched off and I didn't photograph that last little bit. Sorrys!
Here is the finished skirt.

It's a little long for Delilah, but she's growing up so fast, that won't be true soon. I can't believe my baby girl is SO BIG already. How time flies.....

Handing an acorn to Daddy - awwwww!

Thanks for visiting. I hope I haven't turned off all my American friends by being so obsessed with my dear Union Jack. I love America!
Later skaters,
Janimal