I'm Janimal, happily gainfully employed Momma to a sweet girl. Livin' it up in Atlanta with a great husband and a good job. Sometimes I make stuff and here's my spot to show it off! Life is good, so I'm sharing....
Showing posts with label embroidery. Show all posts

Monday, March 12, 2012

March Madness BasketBall Taggy

Hello! Long time no blog! Life is just crazy with two wonderful kids and a fulltime job. Although there is less time for creative pursuits, I don't want to abandon blogging altogether.

I'd like to share a little toy I made for Shane. At 4 months old, it is a big hit with him! It's the right size for him to hold and chew!

In honor of March Madness....


This was made using an embroidery machine download from The Purple Hat HERE.
Loopyloo toys.

It stitched out so well - I must make more!
I added his name to the back. I've had it in his carseat at daycare dropoff and have had several requests to make them for other babies. Ahh, if only I had the time. My list of projects I want to sew for my OWN children is LONG.


I hope to be back soon and share other projects.

Be well!

Janimal


Wednesday, July 14, 2010

SewnCards

I just tried something new! Sewing on paper to make greeting cards!

I've seen this done on lots of blogs, and figured it was time to give it a go. Our niece is away at camp and we like to send her fun cards while she is there. Seemed like the perfect time to give card sewing a go.

Here are my first 3 attempts!


These weren't complicated to make. I took pictures to make a sort of tutorial but really if you have a sewing machine and some paper you could probably figure this out!

I started out with a piece of cardstock scrapbook paper. If I had premade cards, I would have used those but this is what I had on hand.


I folded it in half.


Then cut it in half, to make two cards.


Then I chose some coordinating fabrics for the front of the card. To make this personal for our niece, I embroidered her name on one of the fabric pieces first. If I hadn't done that, I probably would have chosen more fabric pieces to get more contrast and color on the card.


I used a glue stick to lightly tack the fabric to the card. This is certainly not a necessary step but it helped me with placing the three fabric pieces where I wanted them.


First I ran just a straight stitch around the card.


Then decided to haphazaradly sew a zig-zag stitch too.


I cleaned up the edges a bit with my scissors and the card is ready for mailing to camp!

That was fun, so I decided to make a few more cards. I had some groovy cars embroidered on some muslin waiting to be turned into something. I placed one on the other card I had cut, trimmed the fabric to fit on the card, then stitched it on using a contrasting thread and a zig zag stitch.


Here's a little closer look at the stitch.


Ooh, I liked it! So I made another one! (I snipped those loose threads AFTER taking the picture)

I am SO please with how these turned out. Now I have to figure out who to send them to. I think it might be nice to send these to my brothers. They're the kind of guys who would appreciate the little art of these cards.

Unfortunately, card #3 didn't turn out so well. I was excited about it. Decided to use some silver thread and more stitches for some extra pizzazz. But in my excitement, sewed through BOTH sides of the card. Silly Janimal!

I will definitely be sewing up more cards. I can see this being an addictive project and a wonderful way for me to show off some of the fabrics I love and use my embroidery machine. You can probably count on seeing more cards like these on this blog in the future! And if I know you in real life - you may get one!

Thanks for stopping by and happy creating!

- Janimal


Make it Yours @ My Backyard Eden


Life in the Pitts

PonyTails and FishScales
Visit thecsiproject.com

Tuesday, June 29, 2010

Bowling Dress, Popover Tutorial Update, and a Question.

I think I am addicted to the Popover Dress pattern. I just made another one. Here is the "Bowling Dress".


The retro bowling fabric purchased from Whipstitch on their Etsy shop. I used premade bias tape also purchased from this Etsy seller. Free pattern for the dress is here. My tutorial with pictures following the pattern is here.
I HAVE AN UPDATE to the TUTORIAL! -- The cutting instructions have you fold the fabric selvedge to selvedge, and the main pattern piece on that center fold. BUT - for the smaller sizes, you don't have to waste so much fabric. As it is, you need a yard of fabric, but really, you can just use a half. Instead of placing the pattern along the center fold, fold the fabric again. So instead of it being folded in half, it's now folded into quarters. Place the fabric along the QUARTER folds. So when you cut, the two main fabric pieces are side by side.

I got this fabric in the mail (superfast! I ordered Saturday and received it Monday!) and had to make Delilah a little outfit from it immediately. You see, her Daddy is quite the bowler, and I figured he would get a kick out of this little dress. I do actually own some other patterns now. But I needed some quick satisfaction with this dress. I wanted to get it done, so I could show my dear husband, and dress up my dear child. I know this pattern so well now I think if I were stranded on a desert island with some fabric and a needle & thread, I would occupy my time making Popover Dresses!


There is one other Popover Dress in the works in my sewing room. Then I think I will have to stop making them for a while. To be honest, Delilah spends most of her time in playclothes these days. She's an active toddler and we dress her to move and shake and have fun. She's at an age where she is experimenting with coloring and paints, gets a little dirty in the playground, and she needs freedom to be herself - an awesome constantly moving toddler!

There will be more Popover dresses in the future. The pattern has bigger sizes so it will be in my repertoire for a while! As Delilah grows I suppose I will be using more "sophisticated" prints. But for now, these whimsical prints are just so much fun!

So - now - a question.


I purchased from Embroidery Library a little set of classic cars embroidery patterns for my embroidery machine. I stitched them out on to squares of muslin so I could see how they turned out.

And I love them.


But now what to do with them? I thought about sewing these into little cocktail napkins as a gift for my brother. Perhaps stitching one in hot pink on a shirt for Delilah.

I sure do love machine embroidery, but I have a hard time knowing WHAT I should be stitching on and WHERE to place the designs I stitch.

I would love suggestions!

Later skater,
Janimal


Photobucket


PonyTails and FishScales

make it wear it

Wednesday, June 23, 2010

Exec Producer Dog, Toy Story Pillow & Other Stuff!

I'm so happy today! USA & England both advance in the World Cup!
Here are some pictures of other things making me happy today!

First up, our doggy got a new kerchief. Sometimes he goes to work with my husband when he's in a "dog-friendly" editing studio. We figured if he's going to work in broadcasting, he needs a title. So here he is:


(He doesn't like getting his photo taken.) The kerchief is a corner of a sack cloth towel. One cut and a quick run through the machine and Ta-Dah!


This weekend we had dinner with some dear friends. Before dinner, they took their two (awesome) sons to see Toy Story 3. Since I so seldom get to make stuff for boys, during Delilah's Sunday naptime I decided to ignore the dustbunnies I should have been tending to and rushed to my sewing room. Here is Woody stitched out on a badly stuffed pillow.


Each boy got a pillow (both with Woody, I almost did a Buzz Lightyear but didn't want to cause a stir with two different pillows) and on the back I included their name. Here they are, right before we rushed out of the house. Notice they haven't been sewed shut.


I took a needle and thread and stitched them closed in the car on the ride over. Which I don't recommend. Ouch! The boys seemed to like them. Which I liked.

Anyway, I just love having an embroidery machine. I recently received a bunch of hand-me-down shirts for Delilah and decided they would be perfect for embellishment with my machine. It's not as scary that I might mess up my project when the supplies are free!

First up - a classic Minnie Mouse on a pink top.


I do NOT like that there is a pacifier in this photo. They're still around for bedtime only. But if you can ignore the pacifier, check out those pants. I made those too. And the bear. The bear was cut from a sheet, stitched by hand, and stuffed with cotton balls when I was bored over Thanksgiving weekend at my in-laws and foraged the house for supplies. He's a bit funny looking but Delilah loves him, which makes my heart happy.

Now in this picture, we have another hand-me-down shirt with a balloon embroidery on it. (design from http://www.urbanthreads.com/) Notice my excellent mothering skills that my toddler is wielding her toothbrush.


And now scrap all that good mothering nonsense when you see this next photo.


Yep, she's in the dog's crate.

Time has been limited so no new tutorials these days. I have some in mind, so please don't give up on me. Thanks for stopping by!

Later skater,
Janimal


PonyTails and FishScales


Friday, June 11, 2010

Fathers Day Silliness Tutorial

Don't forget to enter my GIVEAWAY!

My tutorial today is a bit silly. It's for Father's Day. Since my husband and I act pretty silly regularly and appreciate silly things, this works for us. Hopefully some of you are a bit silly also and will "get" this!

I am about to show you how to embroider on TOILET PAPER!

Heehee.

I did this in anticipation of Father's Day. That morning I figure my sweetheart will discover my silly project by surprise and it'll give him a laugh. A little message to him in an unexpected place to let him know I'm thinking of him.

Heehee.

(I'm giggling a lot with this one.)


Ok - first, gather your supplies, TP, a glue stick, and if you have an embroidery machine, some hooped stabilizer. (Don't have an embroidery machine? Oh, you can still embroider toilet paper, stick around!)


Fold 3 squares of TP over each other, accordion style. Use the glue stick to lightly secure the bottom piece to the hoop. Unravel the TP enough so when the hoop moves in the machine, it won't tear off the roll.


Embroider your message! Now, don't go for anything too dense, or the paper could fall apart. I went with outlined letters.


When finished, carefuly unhoop the TP, carefully snip threads, and carefully remove the stabilizer. Carefully now!


Then take your roll to the nearest potty room to be discovered!


(Inspiration for this project came to me upon discovering THIS at SwakEmbroidery.com

I think this will generate a little bit of a laugh.

If you don't have an embroidery machine, you could hand embroider a message. But I do recommend using stabilizer. I had a go at trying to add a message using just a little zigzag stitch on my machine. Want to see? You can have a go at this if you have a sewing machine!

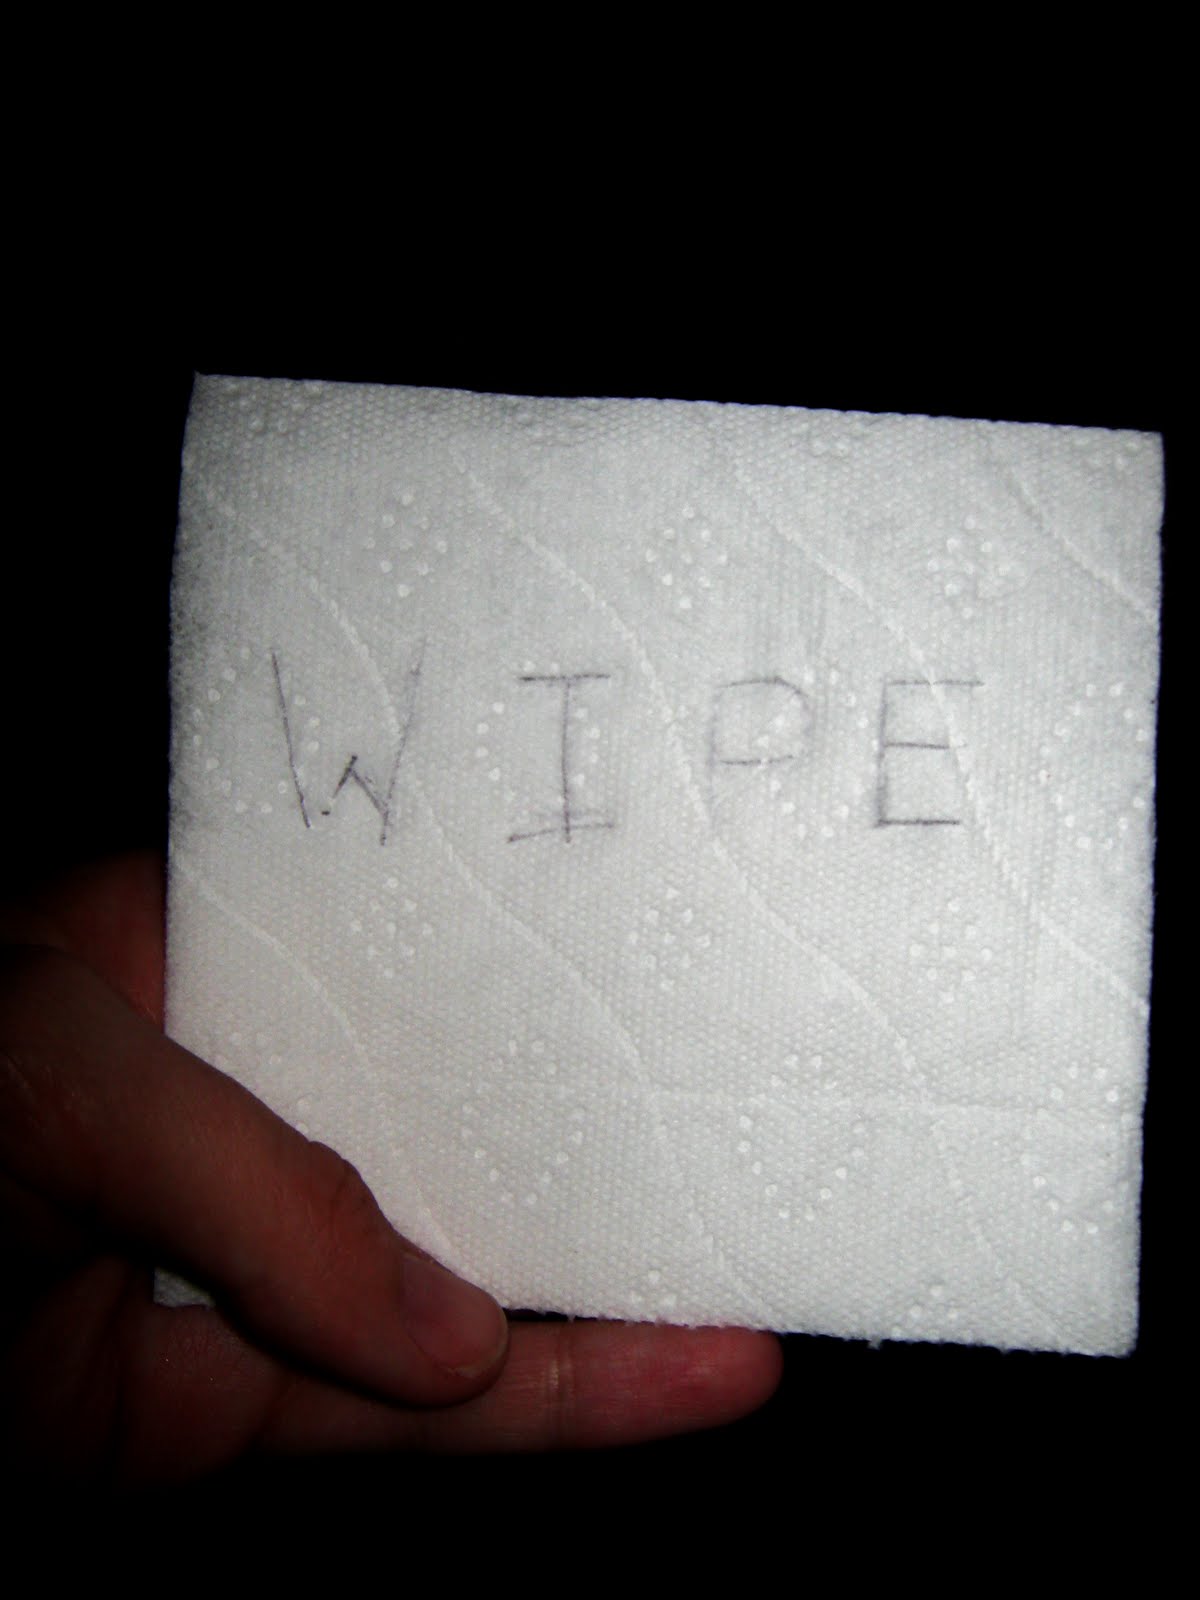
First, write your message on the TP as a guide, again, 3 layers of TP. (I tore these pieces off the roll, but you would leave the roll intact.)


Then just stitch over the message using your zigzag stitch.


And learn from my mistake-- USE STABILIZER. Or you might have your soft TP sucked down into the feed dogs and have it torn and have to start over. :-(


Hope that gave you a giggle today.


Don't forget to enter my GIVEAWAY!

Have a lovely weekend!
-Janimal


sweetcharli"