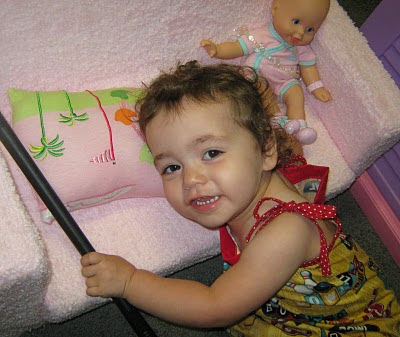
Good morning! It's time for a felt breakfast!
My darling husband put together Delilah's new play kitchen over the holiday weekend. To go with it, I made a few pieces of felt food to play with. I decided to sew up the most important meal of the day....breakfast!
Eggs and Sausage!

Delilah had some fun playing with them.
As she fried up the eggs, she examined the sausages. Celebrities who read my blog take note, the sausages can provide good cover against getting your picture taken!

And in this next picture, the sausages have disappeared.
That's because they are on the floor. Delilah picked them up, said "Doody" and threw them on the floor. She has a point, they do look a little like turds. But then again, don't real sausages look sort of turdlike?
(You had to figure a blog prominently featuring a toddler would have some talk of turds eventually. I'll try to keep that to a minimum.)
I took a few pictures as I sewed these up to show you how they were made.
Start off with a piece of white felt, and a yellow felt circle. Note that the white felt is not cut into an egg shape yet. We'll do that later. Later we'll need another piece of white felt about the same size. (I use wool felt rather than craft acrylic felt. It's softer, easier to sew with, and lasts longer.)

Start to sew the yolk piece onto the white felt piece. After a few stitches, turn the yolk piece into itself a bit so the yolk sticks up a bit from the felt, rather than just sewn down flat. This is hard to describe, so I hope these pictures help. The picture on the left is the yolk flat on the white, with the needle flat next to it. The picture on the right - the needle has not moved. But do you see that the yellow yolk has been moved slightly inward and there is more space between the needle and yolk? Gradually pulling the yolk in like that every few stitches will give the yolk some poufiness so we can stuff it in a bit.
After sewing the yolk about three quarters around, it's time to stuff it with some polyfil.
Stitch the yolk closed, and lay the finished piece on top of another piece of white felt. It's now time to cut our egg shape through both layers of felt.
Put some pins in the felt before cutting, to hold the two pieces of felt together. I just randomly cut around. Fried eggs have lots of weird shapes!
Then sew the two pieces of felt together using a small whipstitch. (There are lots of tutorials on sewing a whipstitch, I like
this one.)
I don't know about you, but for me, one egg just isn't enough.
Now for the doody, er, I mean sausage.
First, I cut out a piece of brown felt in this shape.
Basically two long ovals the same size. Mine are about an inch and a quarter wide and just under 4 inches long. Fold them over and use the whipstitch again to start closing them up.
About halfway around the sausage, I stuff one end. Keep sewing, and stuff a bit more as a go before closing it all the way up.
All that's left is to cook them!
I hope you enjoyed this little tutorial. Thanks for stopping by and happy sewing!
- Janimal


